

)
)
SW004 - Zinc-Free Clear Glaze, Cone 5-10, Pint
Item#: 16SW004
UPC#: 097539101759
MPN: SW004P
- Stoneware Clear Glazes will preserve and enhance the surface of your work.
CONE 5/6 OXIDATION:
- Zinc Free Clear is a specialty clear glaze designed for use on glazes containing chrome-based pigments. It ensures that you will get a brilliant, smooth and crystal clear surface over these colors.
CONE 10 REDUCTION:
- No Change.
* Chips shown are fired flat on a white clay body fired to cone 6 oxidation and cone 10 reduction.
- The choice of clay body, the thickness of glaze application, the firing process, and temperature will affect the fired results.
SW-004 Zinc-Free Clear
* SW-004 Zinc Free Clear is a specialty clear glaze designed for use on glazes containing chrome-based pigments.
** The colors that we strongly suggested using Zinc-Free Clear to maintain color are:
• Fundamentals Underglazes UG-21 Leaf Green, UG-22 Spring Green, UG-198 Dark Grey, UG-210 Forest Green, UG-232 Olive, and SG-405 Designer Liner Green.
• Zinc-Free Clear with these colors ensures that you will get a brilliant, smooth, and crystal clear surface over these colors.
* Fire to cone 5/6.
Stoneware Clear
Preserve and enhance the surface of your work with Mayco’s Stoneware Clear.
Clear, Matte Clear, Zinc-Free Clear
Functionally, clear glaze forms an impervious barrier that protects against liquids, dirt and abrasion.
Aesthetically, our clear glazes provide a gloss or matte finish over top of your colored glaze decoration.
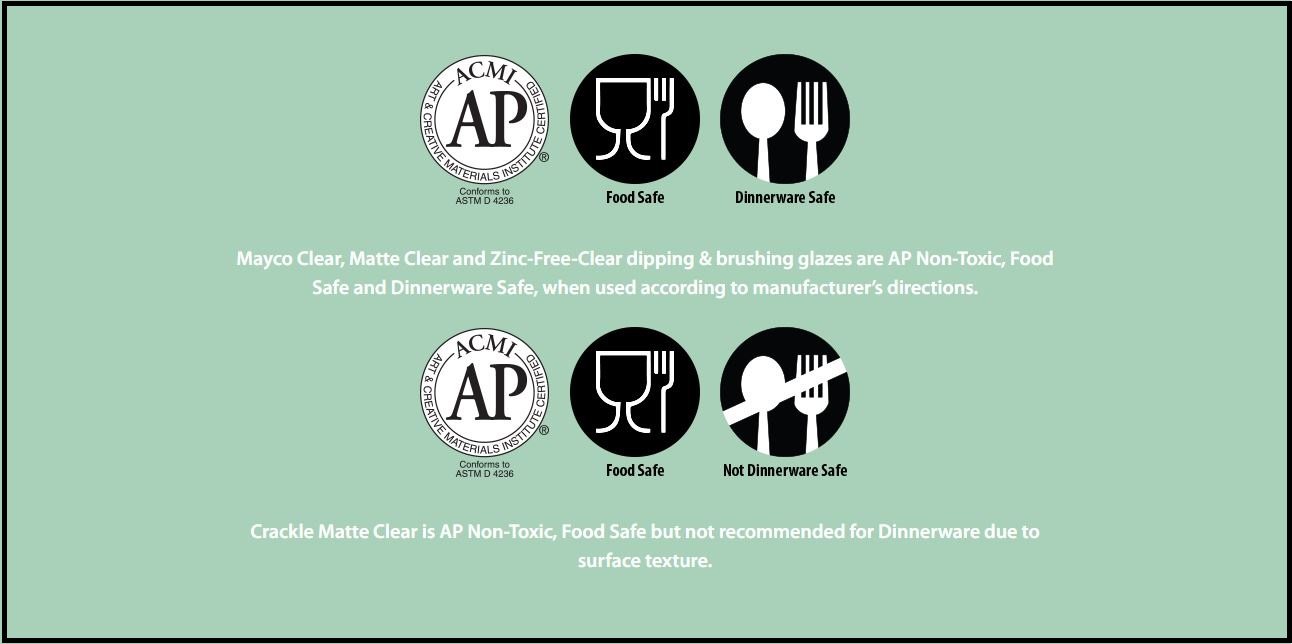
Mayco offers three clear dipping and brushing glazes: Clear, Matte Clear, and Zinc-Free Clear.
** Tips:
• If applied too thick, fired finish may become cloudy.
• Carbon trapping and a milky haze may develop at cone 9/10.
General Use
• Brushing Clear:
* Stir well.
* Apply to soft-fired bisque (cone 04/06).
* Apply one coat if dipping; 2+ coats if brushing – allow each coat to dry before applying the next.
* Allow to dry and fire to cone 5/6-10.
• Dipping Clear Dry Mix Products:
* Always wear a NIOSH approved respirator when handling dry glazes.
* Gently tumble unopened bag to redistribute materials.
* Sieving is not necessary.
* Mix one 5lb bag of dry material into 4-5 pints of water.
* Stir thoroughly with a wood paddle, stick or drill with mixing attachment.
* We recommend using 15lb of dry glaze to start a 3 gallon bucket and 25lb to start a 5 gallon bucket.
* Add additional water until desired specific gravity is reached. Our recommended Specific Gravity is in the range of 1.47 to 1.51.
** Stir well before each use.
* Immerse the ware for 1-2 seconds. We suggest using dipping tongs.
* One dip of Mayco Dry is equivalent to 3 coats.
* Shake excess glaze off gently.
* Allow the glaze to dry before applying additional coats if desired.
* Fire from cone 5/6-10.
** TIPS:
• Save your bag or log the lot number for if you have any questions for our technical team.
• Apply AC-302 Wax Resist to the bottom for easy dry foot clean-up.
Helpful Hints
Clear
Heavy application may increase the incidence of crazing. Reduce the amount of glaze deposited by loading your brush less heavily or decrease the number of brushing coats applied.
Matte Clear
Thicker applications will build opacity.
Crackle Matte Clear
Crackle pattern works best with a thicker application.
To highlight the crackle pattern, after firing, wipe black acrylic or ink over the ware and wipe off, allowing the ink to fill the cracks.
Zinc-Free Clear

The majority of Mayco Fundamentals and Designer Liners will look best using Mayco’s SW-001 Stoneware Clear over them, however for Fundamentals Underglazes UG-21 Leaf Green, UG-22 Spring Green, UG-198 Dark Grey, UG-210 Forest Green, UG-232 Olive, and SG-405 Designer Liner Green, we recommend using Zinc-Free Clear to maintain color. We recommend performing a test with your clay body and underglazes prior to expanding use.
Zinc Free Clear can be applied directly onto porcelain or stoneware bisque – brush 1-2 coats of SW-004 Zinc Free Clear allowing each coat to dry before adding the next, and then fire to cone 6 on medium speed.
Cone 10 Results:

Carbon trapping and a milky haze may develop.
Works well with common colors that contain chrome
If applied too thick, fired finish may become cloudy
Should I use a dipping or brushing clear glaze?
* Choosing a dipping or brushing version of a clear glaze is dependent on application preference, quantity of glazing and time. Mayco offers pre-made low fire clear glaze in both dipping and brushing formulas. Brushing clear glazes differ from dipping versions in that they contain organic additives, which make the brushing glazes thicker (viscous) than dipping formulas. These additives are meant to improve the flow of glaze from the brush and assist with the even-ness of application, enhancing the fired surface finish. The amount of glaze deposited on the ware is primarily a function of glaze viscosity and the number of applications. Typically, 2 applications are required, allowing dry time between coats. Dipping clear glazes contain fewer organic additives, making dipping glazes less viscous than their brushing counterpart. The amount of glaze deposited on the ware is a function of glaze viscosity and the amount of time left in the glaze. Often dipping glazes are preferred in a studio or production environment where a large quantity of ware is processed.
What is the difference between SW-001 Clear and SW-004 Zinc-Free Clear?
* Zinc Free Clear is a specialty clear glaze designed for use on glaze containing chrome-based pigments. Most of Mayco Fundamentals and Designer Liners will look best using Mayco’s SW-001 Stoneware Clear over them, however for Fundamentals Underglazes UG-21 Leaf Green, UG-22 Spring Green, UG-198 Dark Grey, UG-210 Forest Green, UG-232 Olive, and SG-405 Designer Liner Green, we recommend using Zinc-Free Clear to maintain color. It ensures that you will get brilliant smooth and crystal clear surfaces over these colors.
I find dipping tongs difficult to control and use – especially for large pieces. What is the recommended procedure for dipping by hand?
* Use latex or rubber gloves to cover your hands (primarily as a precaution against skin irritation). Dip 98% of the piece into the dipping glaze and shake vigorously 2-3 times. Moisten a soft fan brush (RB-140) in the dipping glaze and pat glaze onto the unglazed area (where you held the piece).
How long must the clear glaze dry before it can be fired?
* 4-5 hours at a minimum, 12 hours would be best. Hazy finishes, trapped bubbles and crawling can occur if the clear glaze has not thoroughly dried before firing.
Occasionally I find hard, white pellets in my clear glaze. What are they?
* Oolites are little pebbles of calcium carbonate. They form naturally although the exact reasons for their formation are unclear. With respect to clear glaze their occurrence is usually during the late summer months – the combination of the warm temperatures and vibration the glaze may experience during transit may factors. These materials can be strained out of the glaze using a fine mesh sieve.
What is the proper way to use a viscosity cup?
* Holding the viscosity cup in one hand and a stopwatch in the other submerge the cup into the glaze. Start the stopwatch the moment the bottom of the cup clears the surface of the glaze. When the glaze stream breaks, stop the clock. Cup should be empty or nearly empty.
How do I dip large pieces of bisqueware?
* Dip two-thirds of the ware into the glaze. Dip the remaining one-third up to the previous dip line and avoid overlapping as much as possible. Moisten a soft fan brush (RB-140) in the dipping glaze and gently pat the seam line. Be careful too to apply too much pressure with the brush as you may smear the underlying colors and design.
Share:
Share on Facebook Share on Twitter Share on Pinterest Tell a friend